The Uniplex Guide · Branding & Business
Event Branding Checklist: Build an Exhibition Stand That Starts Better Conversations
Quick answer: Build an event display around one target visitor, one clear offer and one next step. Plan the stand’s visibility, conversation area, product demonstration, handout and follow-up process before buying banners or giveaways.
A busy stand can look successful without producing useful enquiries. People stop for sweets, take a leaflet and move on. Your team goes home tired with no clear idea who was interested.
A better event branding checklist starts with the conversation you want. What should the right visitor understand from a few metres away? What should they ask? What should happen after you answer?
Define the event objective in one sentence
Examples include booking product demonstrations, meeting purchasing managers or introducing a new service to local business owners. Pick the primary objective and make sure the stand team can explain it consistently.
Then choose a next step that matches it: a relevant quote enquiry, an agreed follow-up call or a product page. Avoid promising a special deal or limited availability unless the offer is real and approved.
Plan three viewing distances
From the aisle: identify the reason to stop
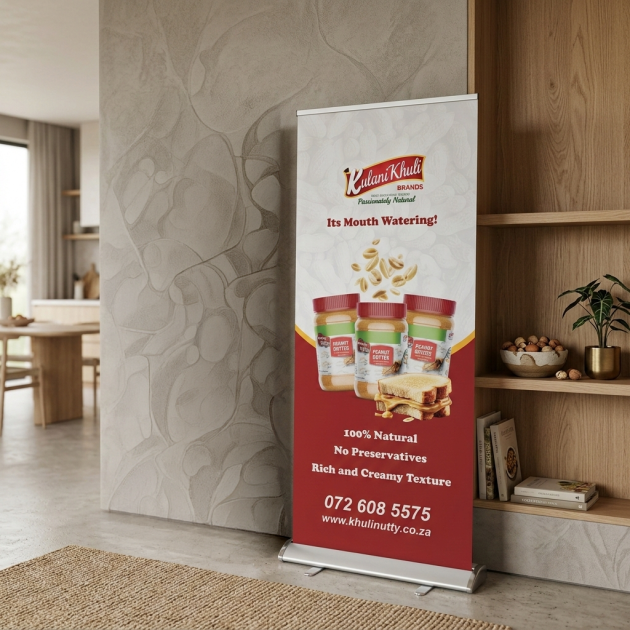
Your main banner needs a clear headline and a recognisable business name. State the result or problem you help with. Keep supporting text brief enough to read at the intended distance. Put important content where furniture and people will not hide it.
At the stand: help the conversation
A counter or table gives staff a useful place to show samples and explain choices. Arrange it so a visitor can approach naturally. Do not let a wall of furniture block the team from the aisle.
In the hand: support the next step
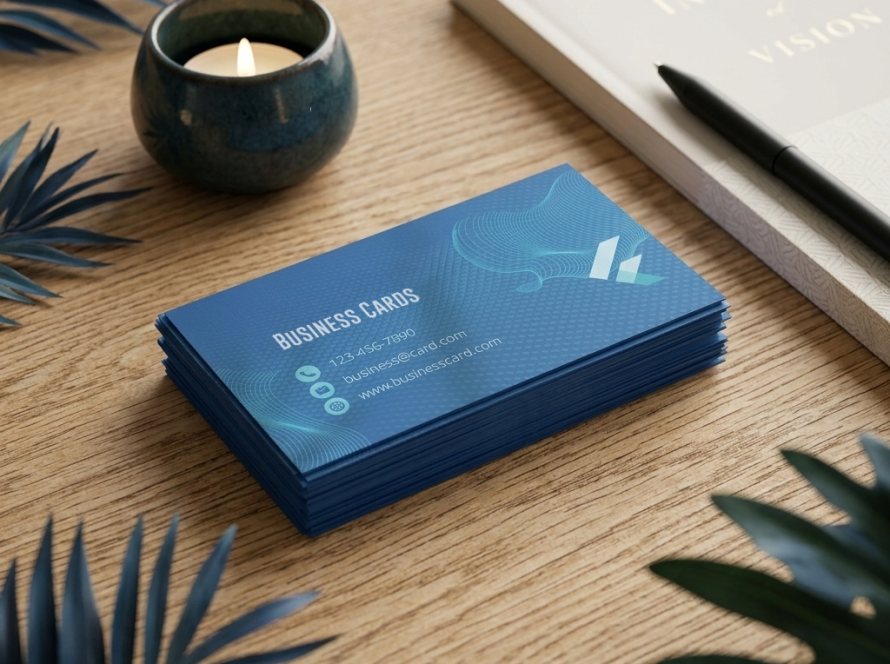
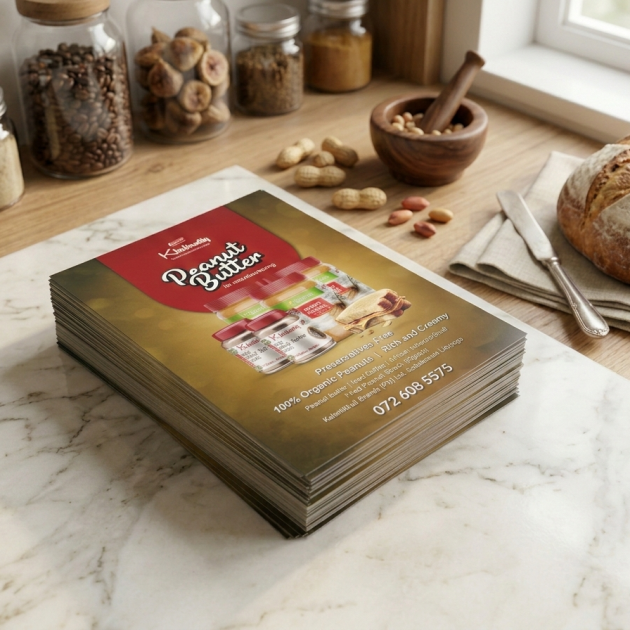
A card or flyer can hold the specific information a visitor needs afterwards. Give them the piece relevant to the conversation. The handout should make sense without your salesperson standing beside it.
Check the size, viewing angle, position, lighting and contrast of each sign. Test the layout in its likely environment rather than judging it only as a small image on a screen.
Match each product to a job
| Job | Product to explore | Check before ordering |
|---|---|---|
| Explain your offer | Pull up Banner | Size, graphic template and visibility |
| Support demonstrations | Curved Promo Table | Dimensions and included components |
| Brand an existing table | Stretch Tablecloths | Table dimensions and fit |
| Continue the conversation | Flyers | Audience, message and contact route |
This is a selection framework, not a pre-priced bundle. Confirm the exact product specification and what is included. A cover is not the same purchase as a table, and a graphic may not include every accessory shown in a display photograph.
Your checklist before the artwork is approved
- Confirm the available floor area and stand orientation.
- Read the venue’s rules for display height, electrical connections and installation.
- Check whether the event is indoors or exposed to weather.
- Agree who supplies hardware, furniture, transport and setup.
- Obtain the correct product templates.
- Check every contact detail and test every QR code.
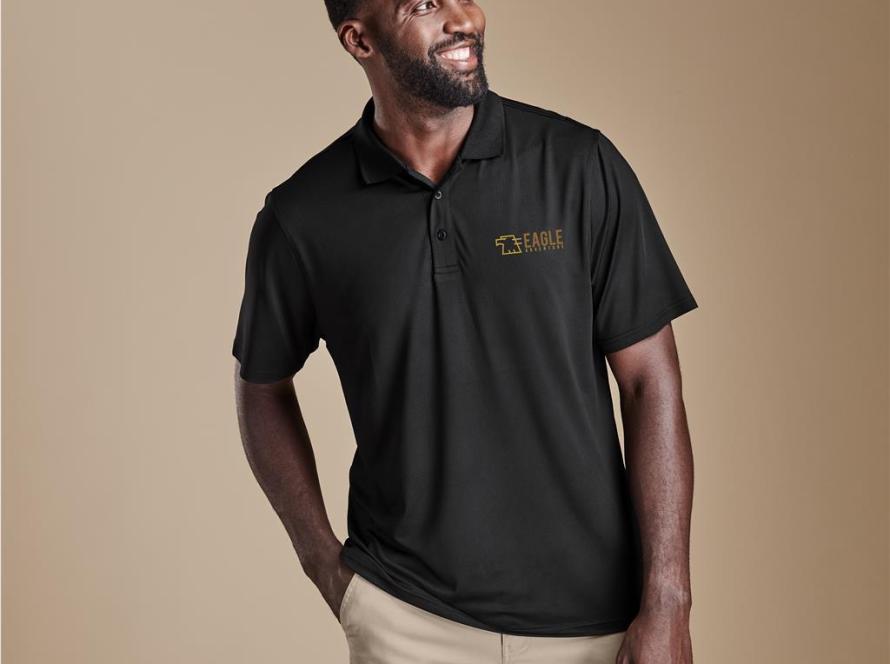
- Approve staff clothing sizes and branding if needed.
- Allow for the confirmed standard production and preparation periods.
Do not use an indoor display outdoors simply because it fits the space. Ask about the appropriate product, supports and venue requirements for the actual conditions.
Give the team a useful opening question
“Can I help?” is easy to decline. A specific, natural question connected to the event may start a more relevant discussion: “Are you buying for a staff team or an upcoming event?” The answer helps the team show suitable examples.
Prepare three things: a short explanation of who you help, one real example of the work and the information needed for the next step. Use accurate examples only. A display should make the team’s work easier, not require them to explain an overloaded design.
Plan the follow-up before the event starts
Name the person responsible for enquiries. Record what the visitor requested, the relevant product, approximate quantity and an agreed contact route. Do not collect information without explaining its purpose or assume a conversation means permission for ongoing marketing.
Afterwards, separate general interest from quote-ready enquiries. Respond with the information discussed. An indiscriminate sales message to everyone who passed the stand loses the relevance your team worked to create.
Measure the right result
Record useful conversations, agreed follow-ups, quotation requests and completed orders. Include the cost of the stand, staffing and materials when evaluating the event. Keep reusable display costs visible and decide how to allocate them across events consistently.
A QR scan shows interaction with a link; it does not by itself show a qualified buyer. Combine digital activity with the team’s enquiry records to understand what happened.
Event branding questions answered
Do I need a full stand package?
No. A small, clear setup can be appropriate. Choose products around the allocated space and sales objective, then add items only when they serve a purpose.
Can I reuse the banner?
Plan evergreen wording if reuse matters. Check the hardware, graphic condition and whether the contact details remain current before each event.
How many flyers should we take?
Estimate relevant conversations, not total attendance alone. Allocate a sensible reserve and avoid handing material to everyone without context.
When should I order?
Work backwards from the event using the supplier’s confirmed standard production period, approval steps and your setup needs. Finalise the specification early.