Wedding stationery planning
The complete wedding stationery checklist for South African couples
Quick answer: A complete wedding stationery plan has four stages: announce, invite, guide and thank. Start with your date, venue, guest list and visual direction, then carry one coordinated design system through only the pieces your celebration genuinely needs.
The costly wedding-stationery mistake is rarely choosing the wrong paper. It is ordering each item as a separate decision. The invitation is designed first, the programme is added later, signage becomes urgent, names change and the final pieces no longer feel like one celebration.
A better approach is simple: map the guest journey before you buy anything. Every piece should either communicate essential information, guide a guest at a decision point or preserve something meaningful from the day.
Wedding stationery is a communication system
Your stationery is not decoration added after the planning. It is the visual language that helps guests understand what is happening, where they should go and what the day will feel like.
That does not mean you need every item on a long Pinterest checklist. A smaller, well-planned suite can feel more premium than a large collection of unrelated pieces. Decide what each item must do, then give the whole suite one typography system, colour direction and material story.
Announce
Save-the-dates and your wedding website give travelling guests time to plan.
Invite
The invitation suite confirms who, what, when, where and how to respond.
Guide
Programmes, welcome signs, seating information and table details remove uncertainty.
Thank
Thank-you cards close the experience with the same care that began it.
Stage 1: before the invitation
Save-the-date
A save-the-date is most useful when guests need to reserve time, arrange travel or book accommodation. Before it goes out, confirm the date, the city or venue area and the names you want used consistently across the suite.
Guest information system
Create one master guest list with correct names, household groupings, contact details, dietary notes and attendance status. This becomes the source for envelopes, place cards, seating plans and thank-you notes. One clean list prevents the same spelling error from appearing five times.
Visual direction
Choose the feeling before the finish. Begin with your venue, clothing, florals, cultural details and the level of formality. Then decide the typography, palette and materials that support that feeling. Your stationery should belong to your celebration, not compete with it.
Stage 2: the invitation suite
The invitation must answer the essential questions quickly. Your suite may include:
- Main invitation: hosts or families, couple’s names, invitation line, date, time and venue.
- RSVP method: response deadline and the exact contact person, form or website.
- Details card: dress guidance, accommodation, travel notes, children or plus-one information where relevant.
- Envelope and addressing: designed to protect the suite and make the intended guests clear.
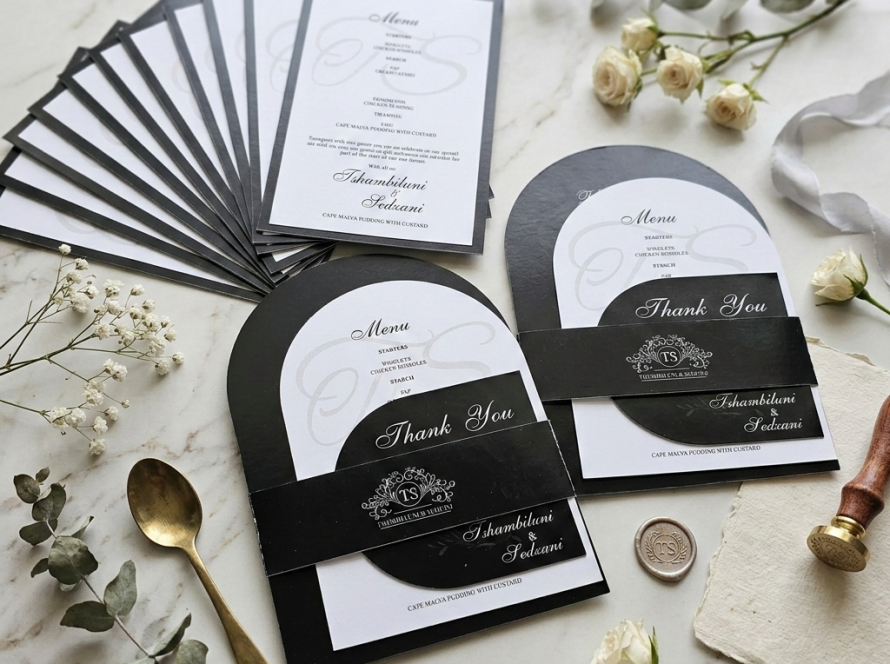
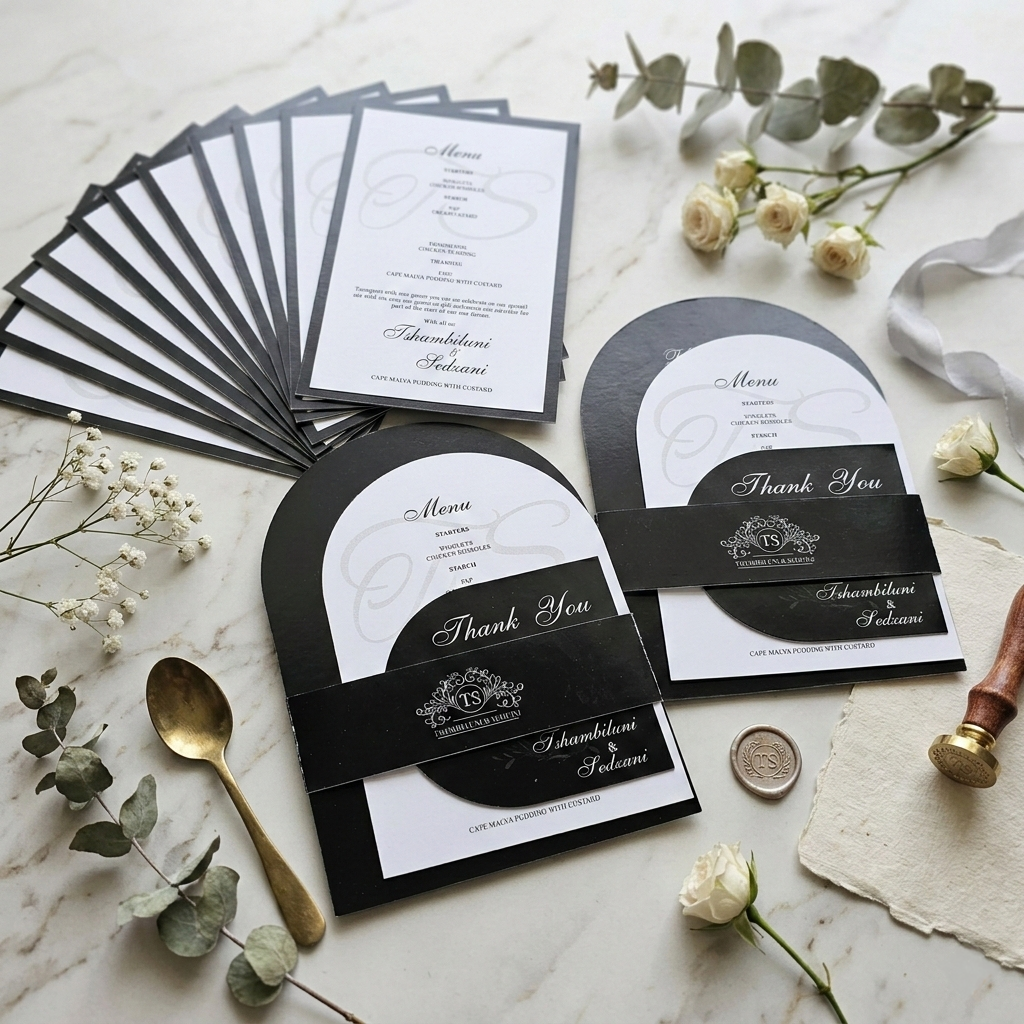
- Belly band or wrap: useful when several cards need to arrive as one considered set.
Stage 3: ceremony and reception stationery
Day-of stationery should be placed where a guest has a question. Think through the day from arrival to the final toast.
For the ceremony
- Welcome or directional sign
- Order of service or programme
- Reserved-seat markers where required
- Processional sign for children in the wedding party
- Personal vows or a keepsake vow plaque
For the reception
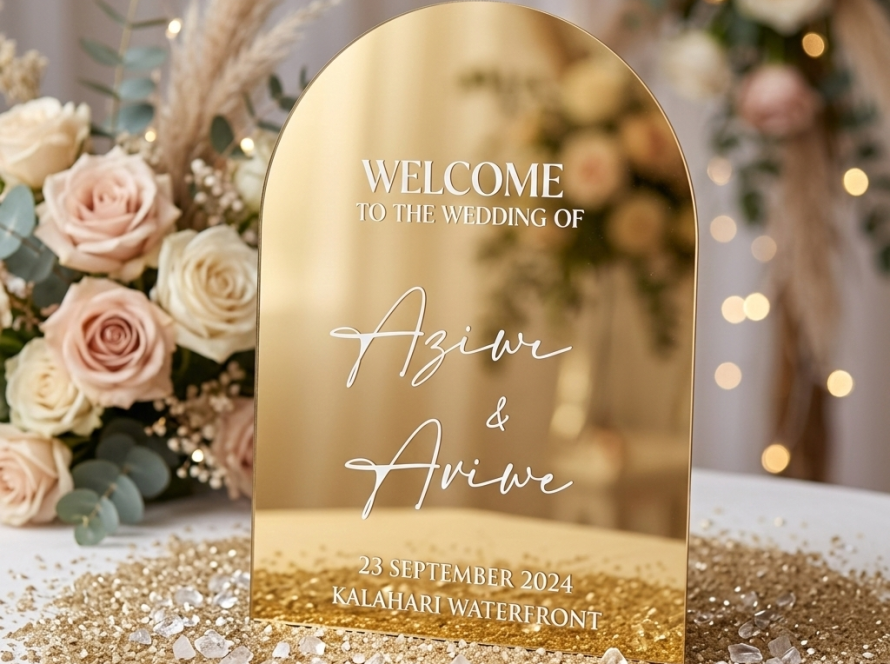
- Welcome sign at the first clear entry point
- Seating plan or escort cards
- Table numbers or names
- Place cards and menus
- Food, beverage and gift-table signs
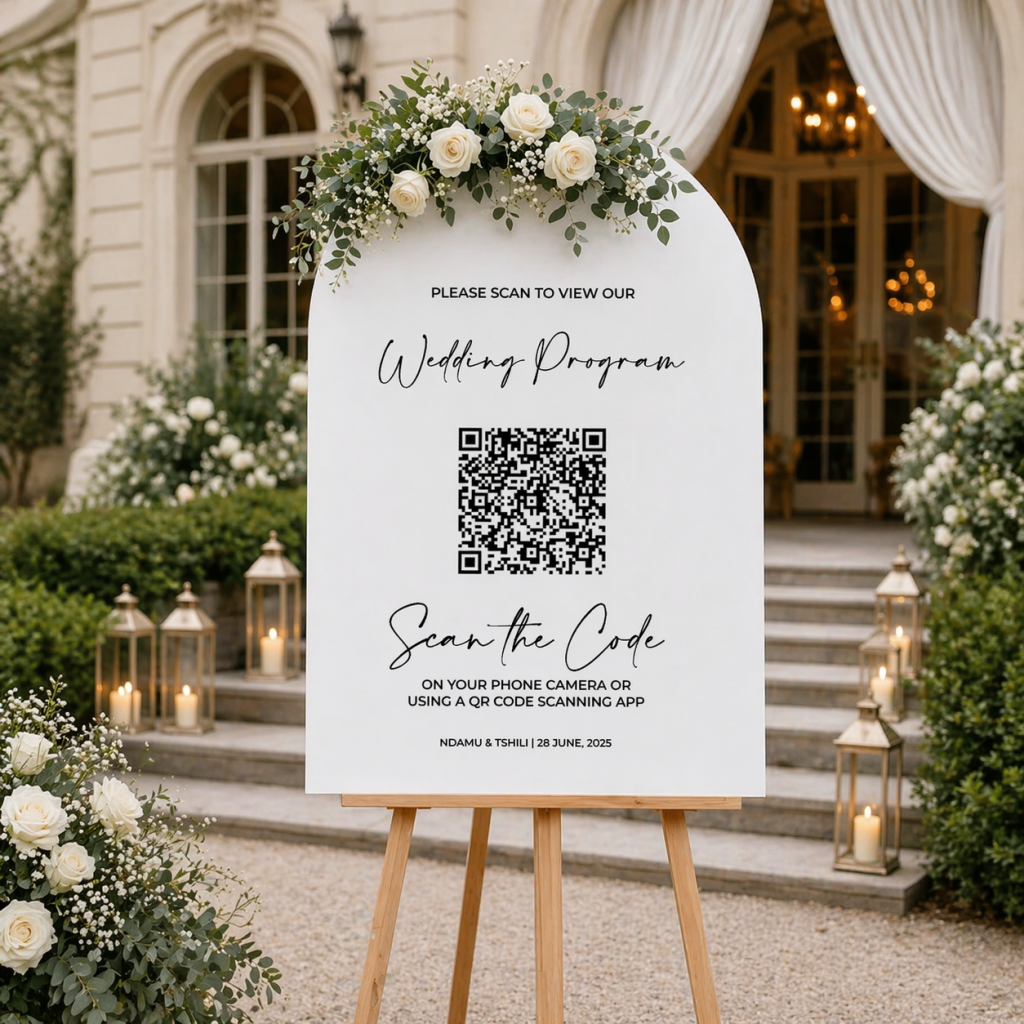
- A tested QR sign for a digital programme, schedule, photo upload or message
Stage 4: after the celebration
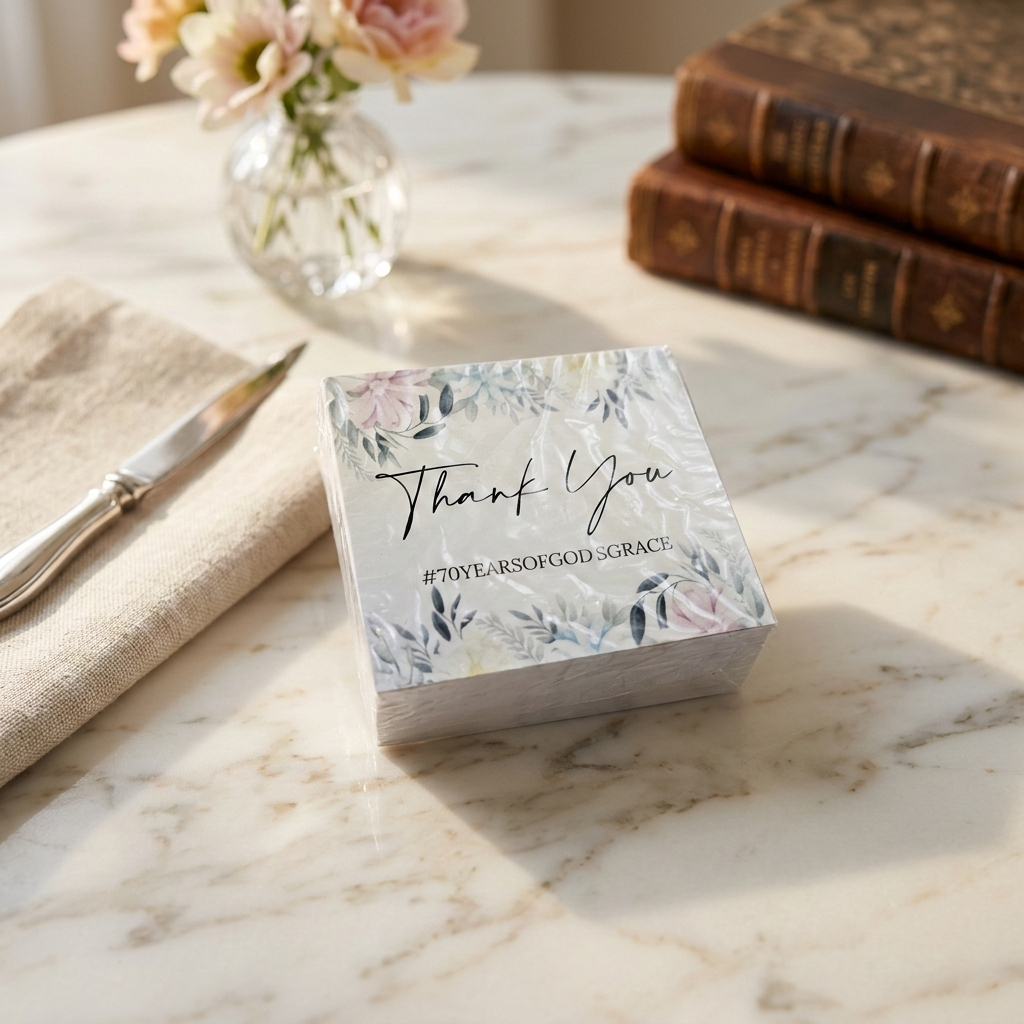
Thank-you cards are part of the guest experience, not an administrative afterthought. Keep a record of gifts and support as they arrive, then write while the detail is still fresh. A short, specific message feels more personal than a long generic one.
Traditional etiquette sources recommend sending notes promptly and completing them within three months of receiving a wedding gift. Your own practical goal can be even simpler: prepare the cards and address list before the wedding so gratitude is easy to act on afterwards.
A practical wedding stationery timeline
Timelines change with venue, travel, guest count, custom scope and production method. Use the guide below to start the conversation, then confirm the real dates against your chosen pieces.
- 9–12 months: define the visual direction and consider save-the-dates, especially for destination or travel-heavy celebrations.
- 6–9 months: refine the guest list, collect addresses, prepare the wedding website and develop the invitation suite.
- 3–5 months: finalise invitation wording, quantities, paper and finish; allow time for review and proof approval.
- About 6–8 weeks before: a common guideline for sending formal invitations for a local wedding, with more time where travel is involved.
- Final planning weeks: confirm names, menu wording, seating information and quantities for day-of stationery.
- After the event: send specific thank-you notes promptly as gifts and support are recorded.
Custom work includes decisions and approvals, not only printing. Plan early enough for design direction, wording review, proof approval and production. Uniplex will confirm timing once your scope is final.
What we need to quote effectively
A useful brief does not need to contain every design answer. It should contain the facts that change the work:
- event date and venue or town
- approximate guest count
- the pieces you are considering
- quantities for each piece
- your preferred palette, style or inspiration
- materials or finishes you already like
- your working budget, if known
Frequently asked questions
Do we need to commission a complete suite?
No. Start with the pieces that solve a real communication or guest-experience need. One product can also become the visual starting point for a broader suite.
Can printed and digital stationery work together?
Yes. Printed pieces can carry the emotional and ceremonial moments while a wedding website or QR destination handles changing information. Keep names, colours and wording consistent so the experience still feels coordinated.
What affects the cost of wedding stationery?
Quantity, size, material, print method, finishing, personalisation and the number of separate pieces all shape the quote. A defined scope is more useful than asking for a price before the guest count and pieces are known.
When should we begin?
Begin once the date, venue direction and approximate guest count are known. You do not need every creative decision made before you enquire.
Build the suite around your celebration
Your guests do not need more paper. They need the right information, presented beautifully, at the right moment. That is what turns stationery from a collection of objects into part of the wedding experience.
Planning references: timing guidance adapted from The Knot’s wedding planning guide; thank-you guidance from Emily Post. Always adapt general guidance to your own celebration and confirmed production schedule.